Setting up Umbraco 7 in Visual Studio 2013 for MVC 4 development
Umbraco 7 has been released, with a refreshed administrative interface making it one of the top CMS in the market. Our earlier blog post on Setting up Umbraco 6 in Visual Studio 2012 for MVC development was found useful by many readers so its time to write and updated blog post with Umbraco 7. The Umbraco team have fully embraced ASP.NET 4.5 as well as MVC for Umbraco 7, making it far more easier for us to build MVC based web sites. In this blog post we will focus on using Visual Studio 2013 and creating a fresh Umbraco 7 website which can be built upon going further.
Setting up Visual Studio 2013 project
Fire up Visual Studio 2013 and start up a new ASP.NET Web Application project give it a name and save it to your preferred location and click OK as shown in Figure 1 below. This is the new project type introduced in Visual Studio 2013, which is a starting point for all web applications.
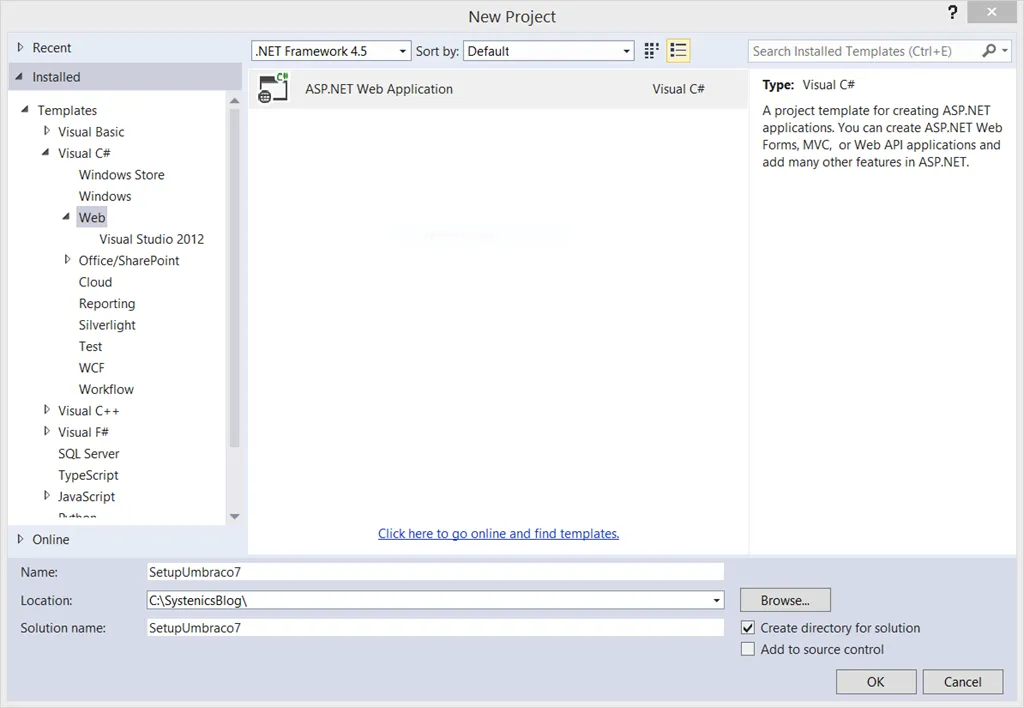
Figure 1: Create new ASP.NET Web Application Project
Select the Empty template from the New ASP.NET Project dialog and click OK to create the project as shown in figure 2 below. This will give us a clean slate to start with our Umbraco 7 project, Umbraco 7 project is now auto configured to work with MVC so we can start with a clean slate and let the Umbraco nuget package configure everything for us.
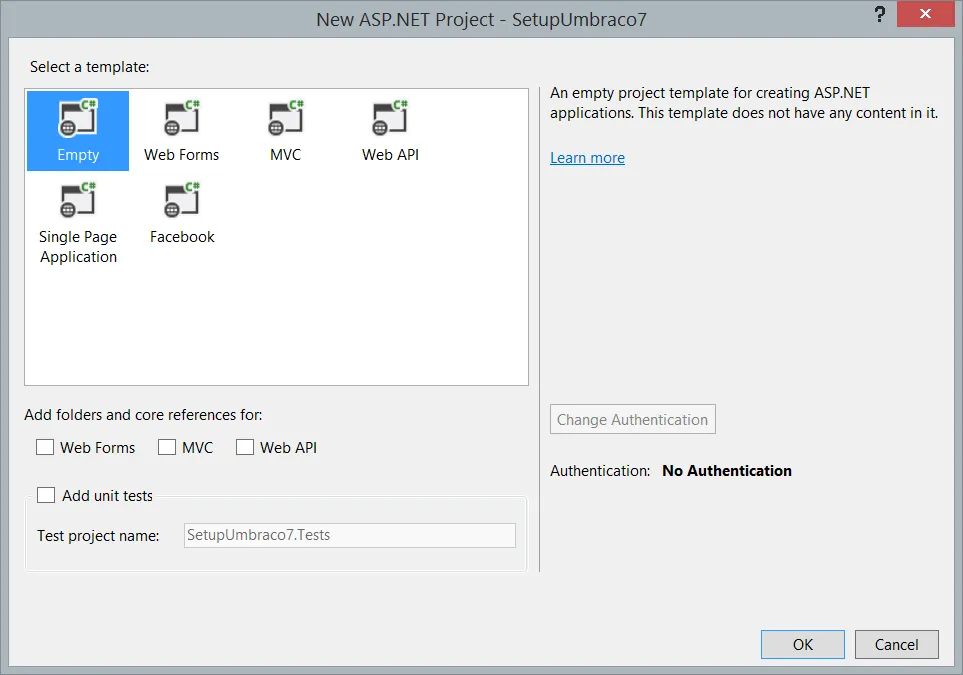
Figure 2: Select Empty template
Installing the Nuget Package
Start the Package Manager Console if its not running already and fire the command PM > Install-Package UmbracoCms as shown in figure 3 below. The Umbraco team has published the Umbraco CMS in nuget so it becomes the easiest way to get the latest codebase and get started with Umbraco. The above command will take a while to execute while every dependent package is found and installed for your project so wait patiently while the process completes.

Figure 3: Run command on Package Manager to download and install
Umbraco 7 in our project.
Once all the files required are downloaded and installed, the Package Manager will ask you a question to request permission to override the web.config file as shown below in figure 4. Umbraco 7 setup has a lot of configurations defined in its web.config file so its necessary that we allow it to use its own web.config file so type Y at the command prompt and press enter to allow the process to continue. This process will continue until all the required files are downloaded and configured. Once the installation process completes you will be shown a readme file with information on getting started.
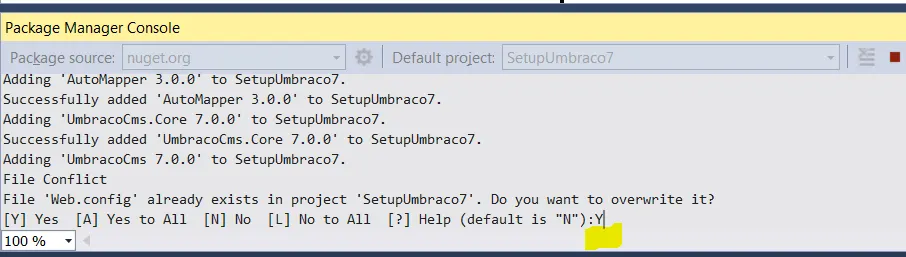
Figure 4: Allow nuget to override the web.config file
With these easy steps we are ready to get started with Umbraco instance installation. The manual steps that were required in Umbraco 6 to set the the project in MVC mode is no longer required and everything is automatically configured for you in Umbraco 7. You can build the project and start with the Umbraco 7 configuration process.
Note: In our testing we found that if we install a start kit during configuration, installation fails with a definition not found for class HttpResponseMessage exception. On further investigation we found that the start kit creates a UmbContactController.cs class file under App_Code folder to handle the Contact Form. This class references the HttpResponseMessage class, which fails because even through the System.Net.Http assembly containing this class is referenced in Visual Studio, code within App_Code is compiled during execution by the asp.net runtime which looks into the web.config file to file the reference to System.Net.Http assembly. If it does not find it there it fails and throws an exception, failing the start kit installation. So if you wish to install a start kit during configuration then open the projects web.config file in Visual Studio and add the following assemblies section under the compilation section at line number 90 as shown in listing 1 below.
<compilation defaultLanguage="c#" debug="false" batch="false" targetFramework="4.5" >
 <assemblies>
        <add assembly="System.Net.Http, Version=4.0.0.0, Culture=neutral, PublicKeyToken=b03f5f7f11d50a3a"/>
  </assemblies>
 .....
</compilation>
Listing 1: Add assemblies section to web.config file
You can build the project and hit F5 to run it. Your browser should load up the Umbraco Installation screen as shown in figure 5 below. Follow the on screen instructions get your application configured.
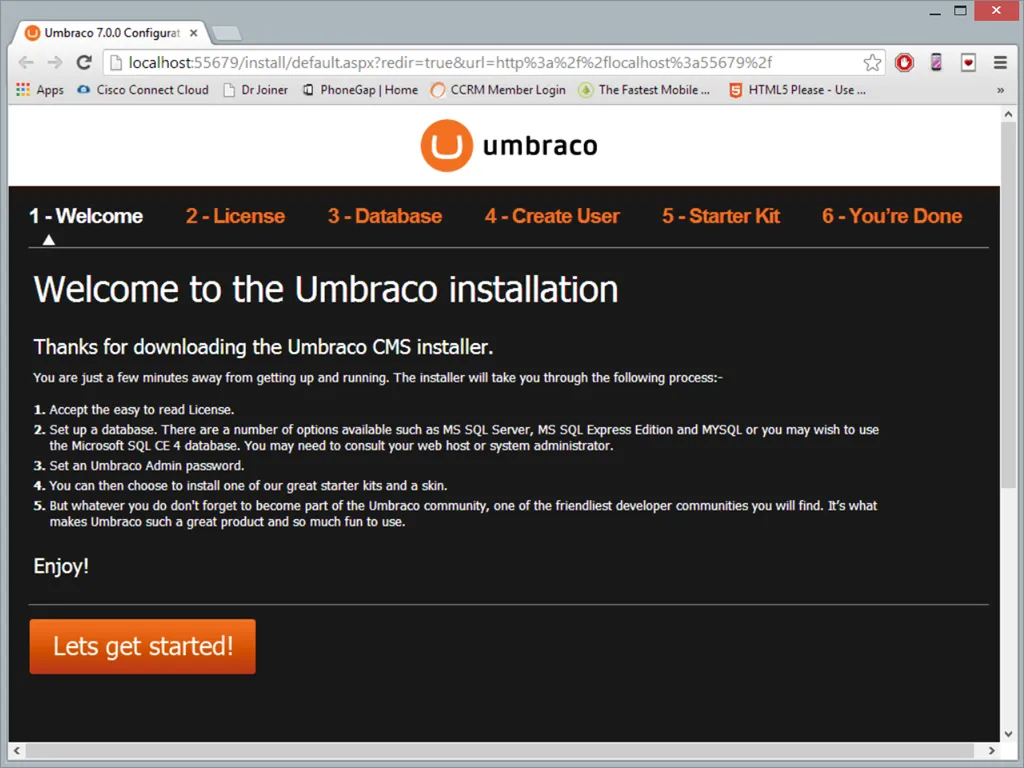
Figure 5: Umbraco 7 Installation
Installation and Configuration of Umbraco 7
The steps shown below are completely optional but still its good to know for those who are getting started with Umbraco development. In your browser click on the Let's get started! button as shown in figure 5 above. On the next license screen click on Accept and Continue to move forward. Now you are shown the Database configuration screen. You can select the database of your choice, I like to use SQL CE 4 during testing and development since it lightweight and easier to move around since all you need to do is copy the folder and all settings get transferred over. Figure 6 shows the SQL CE 4 selected as the database. Click Install to install the appropriate selected database and move to the next step.
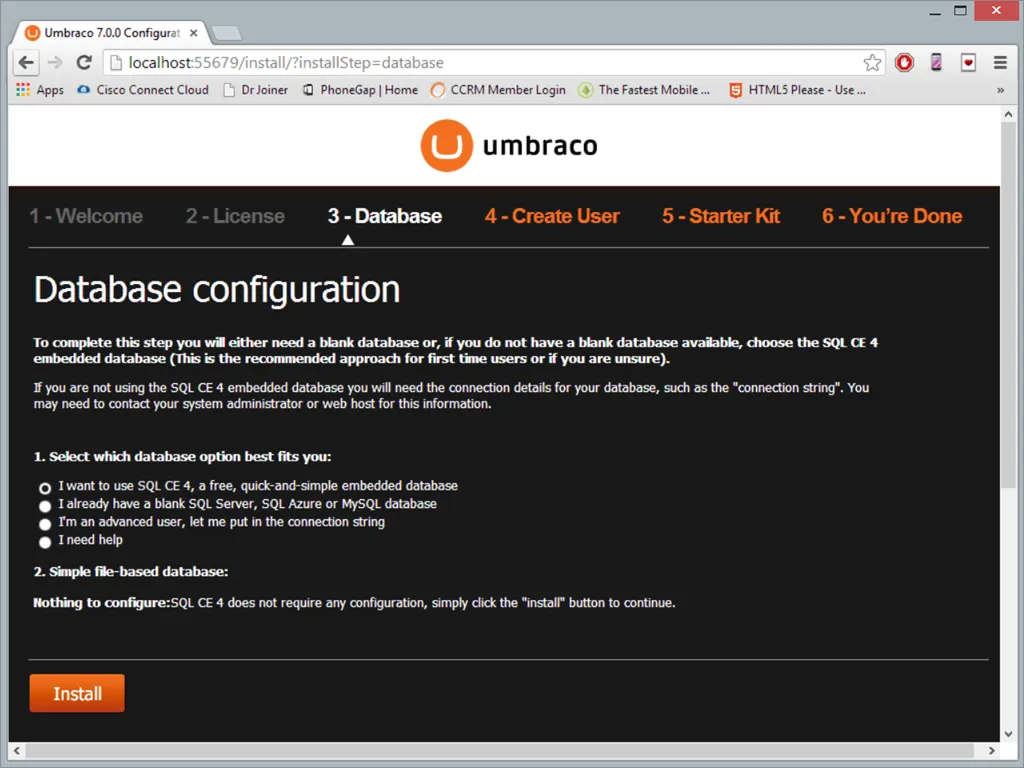
Figure 6: Select SQL CE 4 database
After database installation is done you will see a confirmation message as shown in figure 7 below, click Continue to move ahead.
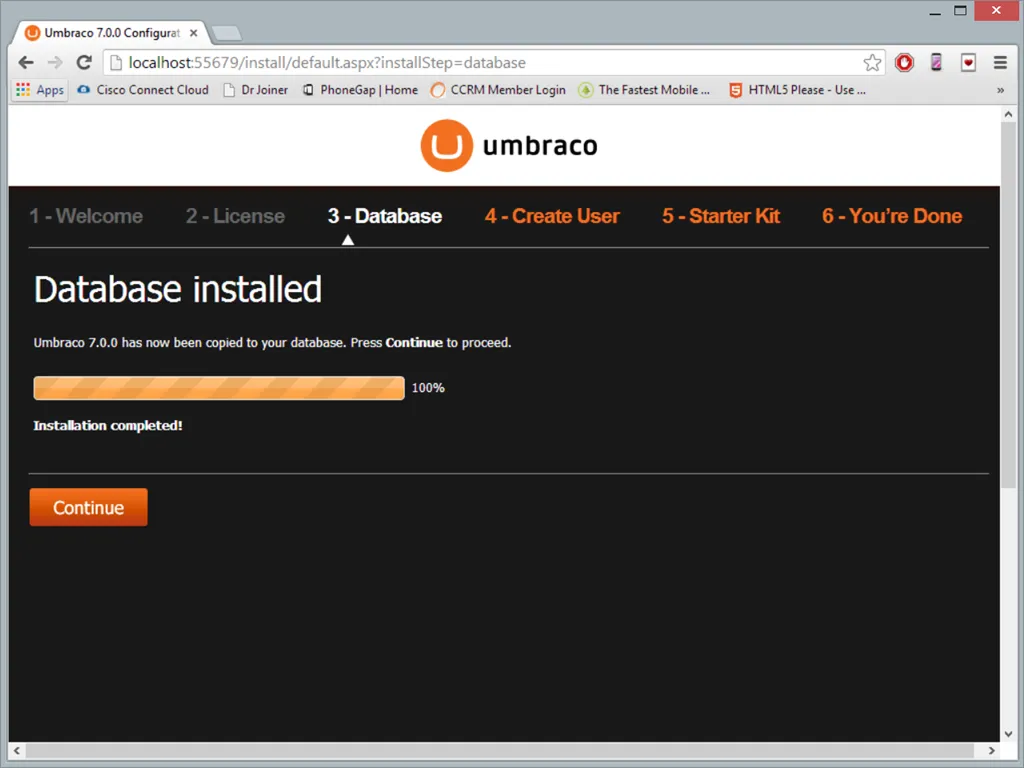
Figure 7: Continue after database installation
On the Create User screen provide the details to create the admin user. This user will have access to the Admin control panel of Umbraco and all details of the user can be changed at a later stage from within Umbraco. Click Create User to create the user and move ahead.
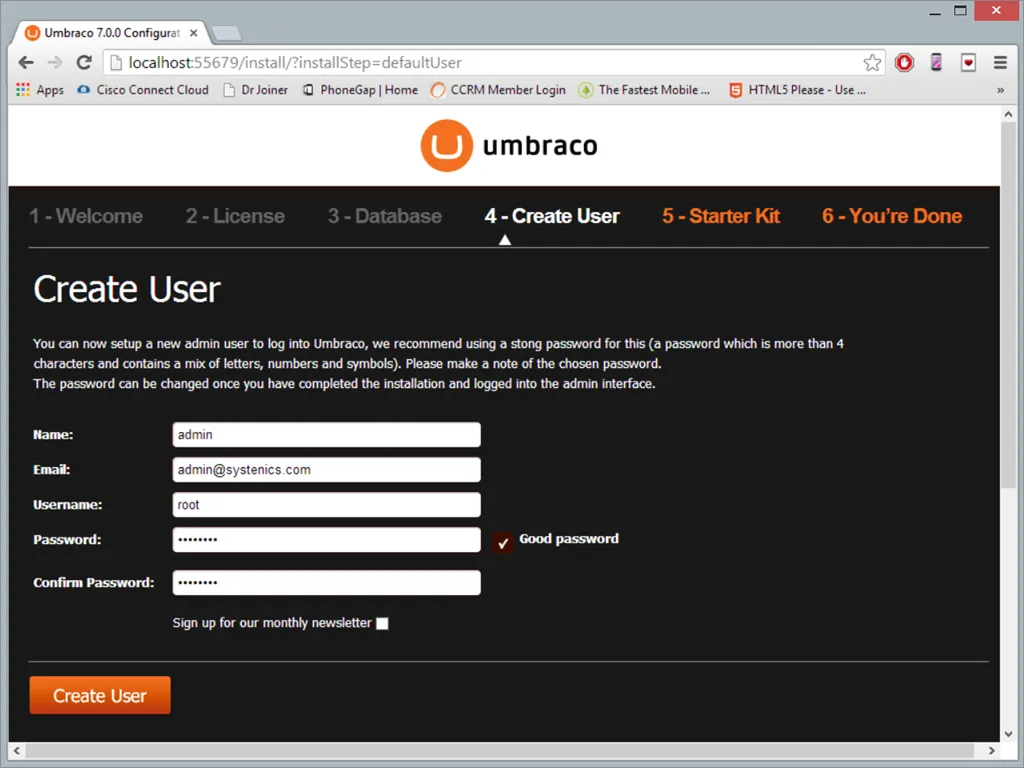
Figure 8: Create User
Once the user is created you are given the option to select a start kit. Umbraco 7 has updated the start kits to provide two basic ones, advanced features like blog, news are not present in the kits today. If you want to create your own site from scratch then its best to not use any of these start kits. Select No Thanks I do not wish to install a start kit image as shown in figure 9 below to setup Umbraco without using an existing starter kit. A confirmation prompt will open up asking you to confirm your select, click OK to proceed.
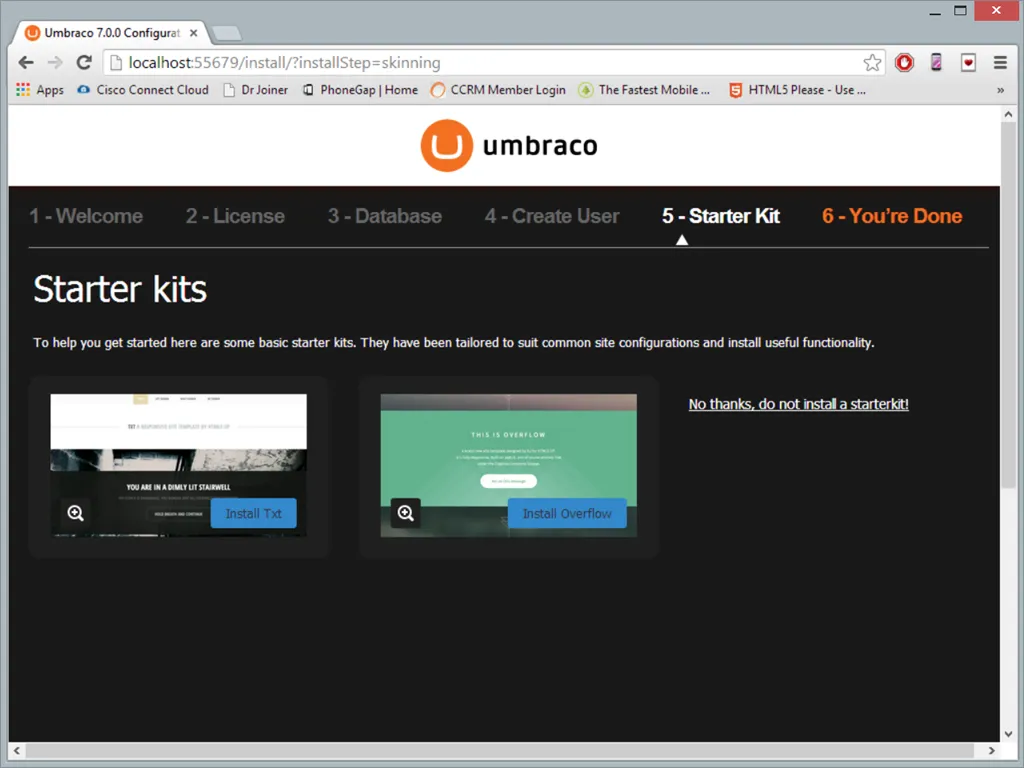
Figure 9: Select Starter Kits
The above steps will finish installation and configuration of Umbraco 7 and you will be presented with a confirmation screen as seen in figure 10 below. This completes the configuration of a blank Umbraco 7 installation. But remember since we did not chose to use a Start Kit our site will be blank and it needs content defined before you can publish or deploy the site. Its out of the scope for this blog post to define how to configure your site, please consult the Umbraco Documentation for further advice.
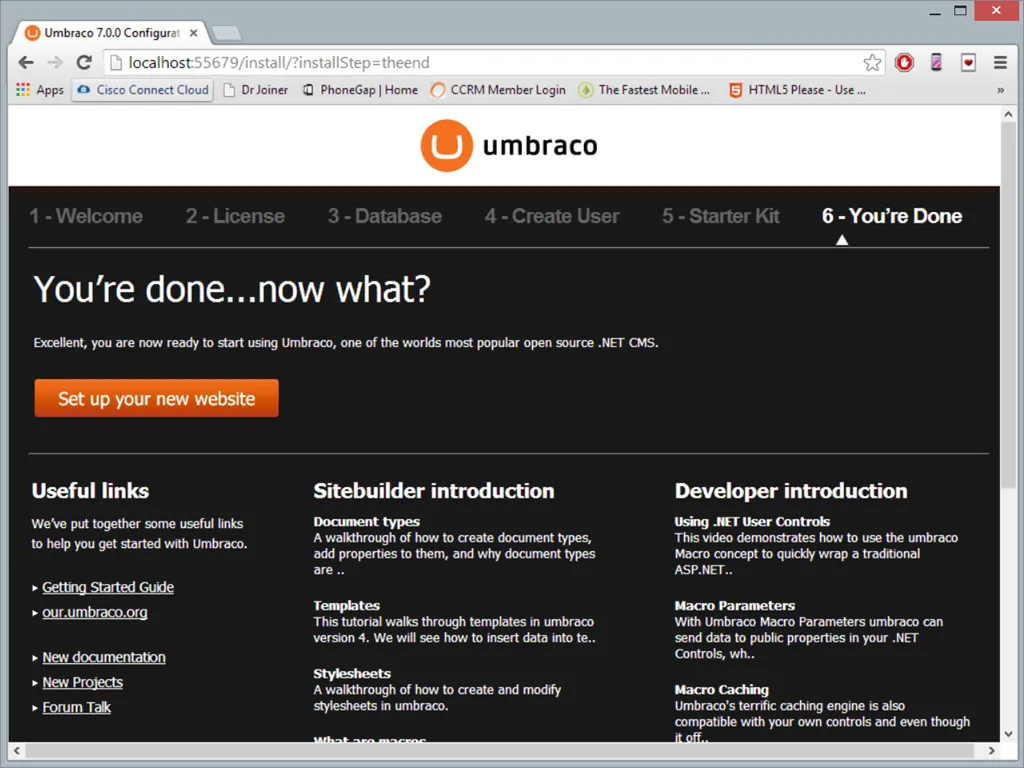
Figure 10: Umbraco 7 Installation Complete
In this short blog I have tried to cover the essential steps required to configure Umbraco 7 with Visual Studio 2013. I plan to build on this configuration in my future blog posts.
Download Sample
Click here to download the sample for this blog.